First, I drew my original kite on a piece
of paper.
Next, I drew the framework of my kite.
I scanned it to send the data to my PC.
I input its shape data to JW-CAD (free
software).
I input a dimension line for the main part.
Left: The screen view of the PC showing
that the dimension lines have been input on the drawing.

When all the dimension lines were input, the design diagram was completed. (See left)
The dimensions of the kite are precisely shown in the diagram.
I printed it on a paper with a printer.
I cut the materials such as thin wood and vinyl (plastic bag) according to the dimension.
I revised my plan in the course of cutting them.
I had planed to make this mermaid fly with her arms opened.
But I decided to keep her arms dropped on both sides of her waist to reduce wind resistance.

I selected the lightest materials possible and cut them according to the plan.
The left photograph shows the framework and the face of the mermaid.
The shape of the head is designed so as to reduce the resistance of the wind.
(4) Finishing.
The hair of the mermaid is part of the main wing.
I attached a large piece of transparent vinyl onto the mermaid′s hair with double-stick tape, paying close attention to make it symmetric.
Next, I dressed the mermaid with white vinyl using double-stick tape.
Finally I attached on the body the white vinyl tail fin with fish scales made of silver paper and the arms made of pink vinyl, using double-stick tape. The parts are all cut in accordance with the plan.
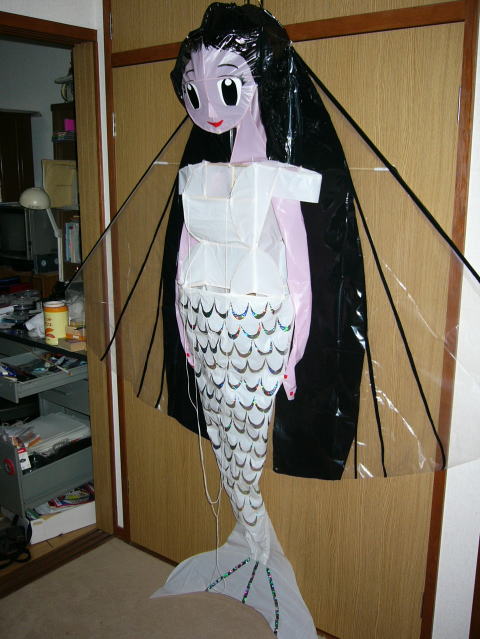
(5) Completion
The photographs below show the finished kite.
The height is about 2m.